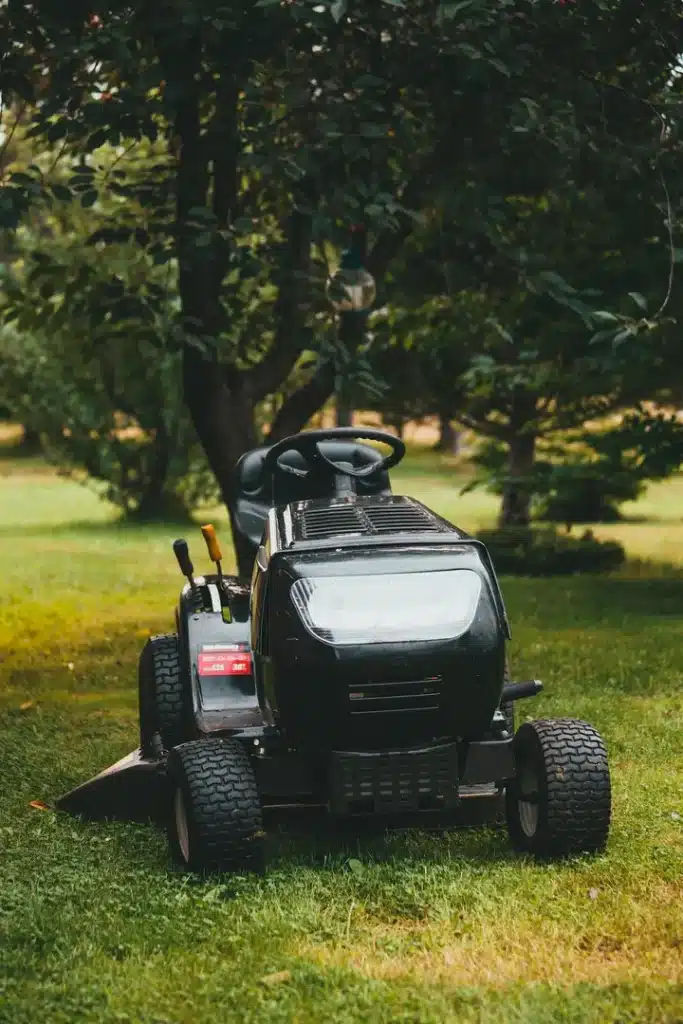
Welcome to a practical guide on how to wire lights on a zero turn mower, authored by a certified agricultural equipment technician with over a decade of experience in machinery maintenance and repair.
Key Takeaways
- The article outlines the necessary tools and materials for wiring lights on a zero-turn mower, highlighting the use of a heat gun and 14-gauge wiring while stressing the importance of choosing materials that comply with electrical codes.
- Selecting mounting locations, drilling holes with an HSS drill bit, and securing lights and brackets to the mower, with an alternative option of using magnet brackets to avoid drilling.
- Detailed are the wiring steps, which involve routing and connecting wires, ensuring secure and code-compliant connections, and finishing with a test of the light system to confirm proper function.
- It advocates for LED lights due to their efficiency and long lifespan and offers guidance on minimizing insect attraction to lights during nighttime use while emphasizing safe mowing practices.
Gathering Necessary Tools and Materials

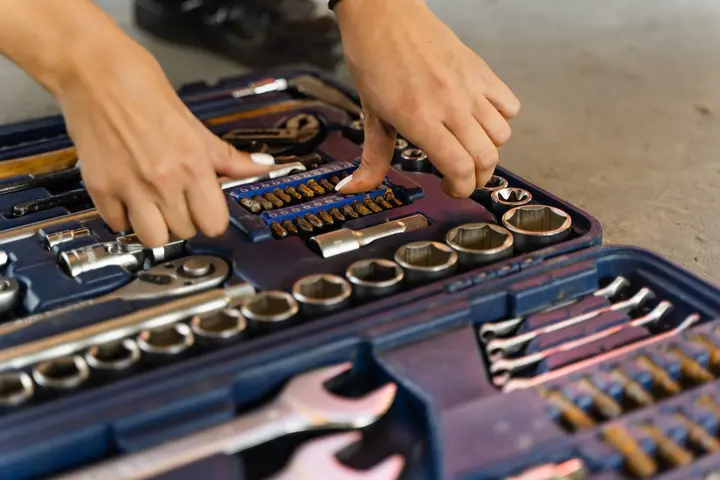
Before the installation process, ensure you have all the necessary tools, including a heat gun, and materials for wiring lights on your zero turn mower. Having the right tools at your disposal will make the task smoother and ensure a successful outcome.
In addition to the wiring components, you’ll need brackets, switches, and other essential equipment to get started.
Wiring Components
Firstly, familiarize yourself with the wiring components needed for the installation, considering age appropriate if relevant factors. These include cables, connectors, and relays.
For wiring, selecting between 12-gauge and 14-gauge wiring depends on your lighting needs. 12-gauge wiring, being thicker, can handle more electrical current, making it suitable for high-powered lighting systems or long wire runs.
Conversely, 14-gauge wiring is thinner and more suited for lower-powered lights or shorter wire runs, which could be the case for basic mower lighting setups.
Ensure to match the wire gauge with the electrical demand of your lights and the distance they will be from the power source to ensure safety and functionality.
Relays regulate the electrical current to the lights, which is key for their proper functioning. When selecting wiring cables for your light installation, remember to consider:
- Insulation
- Material quality
- Ampacity
- Voltage requirements
- Flexibility
- Compliance with electrical codes and regulations
Step-by-Step DIY Installation Guide
In this guide, we will cover everything from determining the best light placement to testing the lights after installation. Follow these steps closely to ensure a successful and safe wiring job on your zero turn mower.
Determining Light Placement
The first step in the installation process is determining the ideal placement for your lights. Consider available space and potential conflicts with mower parts when choosing a location.
Many individuals find that the front of the thrower hive housing or the mower’s monitoring levers are effective locations for new lights.
Potential mounting locations for led light bar install are available. They include the roll bar and front caster wheel housing. Once you’ve chosen a suitable location, mark the light’s mounting bracket position.
Drilling Mounting Holes

With the light placement determined, the next step is to drill mounting holes for the lights and brackets on your zero turn mower. A high-speed steel (HSS) drill bit is recommended for drilling mounting holes.
The optimal size for mounting holes may vary depending on your specific mower model and brand, so consult the manufacturer’s instructions or user manual for guidance.
When drilling holes, choose areas where the mounted light’s bracket can be securely fastened and avoid areas with existing bolts.
Alternative Mounting
Utilizing a magnet bracket for mounting lights on a zero turn mower provides a non-invasive alternative to drilling holes. This method preserves the structural integrity of the mower while offering a quick and easily reversible installation process.
The strong magnets ensure a secure attachment, making it a reliable option for mounting lights.
Moreover, magnet brackets allow for the flexibility to change the positioning of lights or remove them entirely without leaving behind any permanent alterations, like drilled holes.
This can be particularly beneficial for those who may want to adjust light positioning over time or are hesitant about making permanent modifications to their mower.
Mounting Lights and Brackets
After drilling the mounting holes, proceed to mount the lights and brackets on your mower. Secure the light brackets to the chosen location, ensuring proper orientation and attachment.
Attach the LED lights to the ROPS mounts using the appropriate brackets.
When preparing to install lights and mount the brackets for your light kit, have a set of tools handy, including:
Tools
- Marker Pen
- Measuring Tape
- Wire Cutters
- Crimping Tool
- Power Drill
- Metal Drill Bit Set
- Socket Wrench Set
- Wire Strippers
- Electrical Tape
- Crimp Connector
- Heat Shrink Butt Connectors
Parts
- ON/OFF Waterproof Switch
- Terminal Connectors
- Straight Connector
- Spade Connectors
- Ring Connector
- In-Line Fuse Holder & Fuse
- Cable Shrink Wrap
Routing and Connecting Wires
With the lights and brackets in place, proceed to route and connect the wires on your zero turn mower. Here’s how:
- Start by stripping the wire sleeve to expose about 14 inches of wire.
- Connect the positive battery cable to the positive inlet, ensuring a secure connection.
- Group all ground connections together and secure them into a single cable for a neat and organized wiring job.
As you route the wires, be sure to secure them using zip ties. This will keep the cables in place and prevent them from getting tangled or damaged during mower operation.
Once the wires are securely routed, connect the LED light relay by attaching the connector to the positive and negative wires.
Finally, insert the inline fuse into its respective fuse holder to complete the wiring process. Completing this step ensures the proper function and safety of your mower lights.
Installing the Light Switch
The following step involves installing the light switch on your zero turn mower. The switch should be placed near the ignition for easy access.
Before drilling a hole for the switch, inspect the underside of the intended switch mount location to confirm there are no obstructions.
Once the hole is drilled, attach the spade connector to the switch using a crimping tool and link it to the switch. The switch has been installed. Secure the cable in place using zip ties.
Testing the Lights
Once everything is installed and connected, proceed to test the lights on your zero turn mower. Here’s how:
- Activate the switch and confirm that the lights are functioning correctly.
- Reconnect the additional cable to its battery terminal.
- Verify the operation of the lights.
If any issues arise during the testing process, such as lack of power or only one light working, check the one wire connections and ensure proper installation, depending on your settings.
Safety Considerations
Safety warnings serve as precautionary advice to protect users from potential hazards that could lead to injury or equipment damage.
- Do Not Modify Safety Features: Avoid altering or compromising the roll-over protection system (ROPS) to maintain its integrity and protective function.
- Battery Disconnection: Always disconnect the battery prior to starting any electrical work to prevent the risk of electric shock.
- Secure Electrical Connections: Ensure all electrical connections are secure and properly insulated to prevent short circuits or potential fires.
- Follow Manufacturer Guidelines: Adhere to the mower manufacturer’s guidelines for any modifications to avoid voiding warranties or causing unintended damage.
- Use Appropriate Tools: Employ tools that are suitable for electrical installations to ensure a safe and effective setup.
- Check for Obstructions: Before drilling or mounting, inspect the area to avoid interfering with mechanical parts or wiring.
- Test Safely: When testing the newly installed lights, do so in a safe environment and check all functions to ensure proper operation.
Choosing the Right Lights for Your Zero Turn Mower
Being knowledgeable about wiring lights on your zero turn mower, the next step is to select the appropriate lights for your needs.
We’ll provide tips on selecting the best lights for your mower, including a comparison of LED vs. HID lights and spotlights vs. light bars.
LED vs. HID Lights
When it comes to choosing between LED and HID lights for your zero turn mower, LED lights are typically the more preferred option. LED lights offer several advantages over HID lights, such as:
LED Lights
Pros
- Energy Efficiency: Consumes less power compared to HID lights.
- Longer Lifespan: Lasts up to 100,000 hours.
- Immediate Light Output: Lights up instantly to full brightness.
Cons
- Higher Upfront Cost: Generally more expensive initially.
HID (High-Intensity Discharge) Lights
Pros
- Brightness: Usually brighter than LED lights.
- Better Color Accuracy: Often preferred for tasks requiring color accuracy.
Cons
- Longer Warm-Up Time: Takes some time to reach full brightness.
- Shorter Lifespan: Typically lasts between 10,000 to 25,000 hours.
- Less Energy Efficient: Consumes more power compared to LED lights.
Spotlights vs. Light Bars vs. Work Lights

LED Light Bars
LED light bars provide a broad illumination which is excellent for covering large areas while mowing. They are energy-efficient and have a long lifespan of up to 100,000 hours.
Pros
- Energy efficiency
- Wide coverage of light
- Long lifespan
Cons
- Higher upfront cost
- Requires more space for mounting
LED Spotlights
LED spotlights emit a focused beam of light, making them ideal for illuminating specific areas. They are compact and easy to mount.
Pros
- Focused lighting
- Compact design
Cons
- Limited area coverage
- May require multiple units for broader illumination
LED Work Lights
LED work lights are versatile and can be used for various tasks besides mowing. They are portable, allowing for easy adjustments and movement.
Pros
- Versatility
- Portability
Cons
- May offer a less permanent lighting solution
- Less aesthetic integration with mower design
Tips for Safe and Efficient Use of Mower Lights
With your lights installed and ready, remember to prioritize safety and efficiency while using them. I will discuss tips for dealing with darkness and bugs while mowing at night to ensure a smooth and enjoyable mowing experience.
Dealing with Darkness and Bugs
Mowing at night with your newly installed lights can attract various insects like moths, flies, crane flies, mayflies, and beetles. To minimize this attraction, you can use yellow or amber-colored lights, which are less attractive to insects than white or bright lights.
Additionally, ensure the area around the mower is well-lit to help draw insects away from the mower lights.
Another challenge when mowing at night is managing darkness. Maintaining good visibility is key to safe mowing, so make sure your lights provide sufficient illumination.
Summary
Adding lights to your favorite zero turn mower can significantly enhance your mowing experience, allowing you to work in low light conditions and extend your mowing hours.
This guide has provided you with a step-by-step installation process, tips for choosing the right lights, and strategies for dealing with darkness and bugs while mowing at night.
By following these instructions and tips, you can transform your zero turn mower into a well-lit machine, ready to tackle any mowing challenge that comes your way.
Frequently Asked Questions
What tools and materials do I need for wiring lights on a zero turn mower?
You’ll need cables, connectors, relays, brackets, switches and other wiring components to properly install lights on your zero turn mower.
Where should I mount the lights on my zero turn mower?
Mount your lights on the front of the thrower hive housing or the mower’s monitoring levers for optimal results.
What are the benefits of LED lights compared to HID lights?
LED lights are more energy efficient, have longer lifespans, faster response times, higher quality of light output, and require less maintenance than HID lights, making them a great choice.
How can I minimize the attraction of insects to my mower lights?
To minimize insect attraction to mower lights, use yellow or amber-colored lights and ensure the area around the mower is well-lit.
How can I ensure the safe operation of my zero turn mower while using lights at night?
Ensure adequate illumination for safe operation by following installation instructions and using the appropriate lighting for your zero turn mower while operating at night.


