
Welcome to our comprehensive guide on how to change oil in a push mower.
As a seasoned lawn care expert with years of experience in maintaining and repairing garden machinery, I’m here to share my knowledge on this essential aspect of push mower maintenance.
This guide is designed to provide you with clear, concise instructions, ensuring that you can confidently and safely change the oil in your push mower.
Quick Summary
- To efficiently change the oil in a push mower, warm up the engine, disconnect the spark plug wire, clean the area, drain the old oil, and refill with fresh oil.
- Regularly changing the oil in a push mower ensures the engine’s longevity and efficiency, preventing wear and environmental pollution.
- Approximately 50% of lawn mower owners neglect regular oil maintenance, potentially reducing the lifespan of their mowers.
- Personally, I find the process of changing the oil in my push mower to be a rewarding practice in self-reliance and care for my gardening tools.
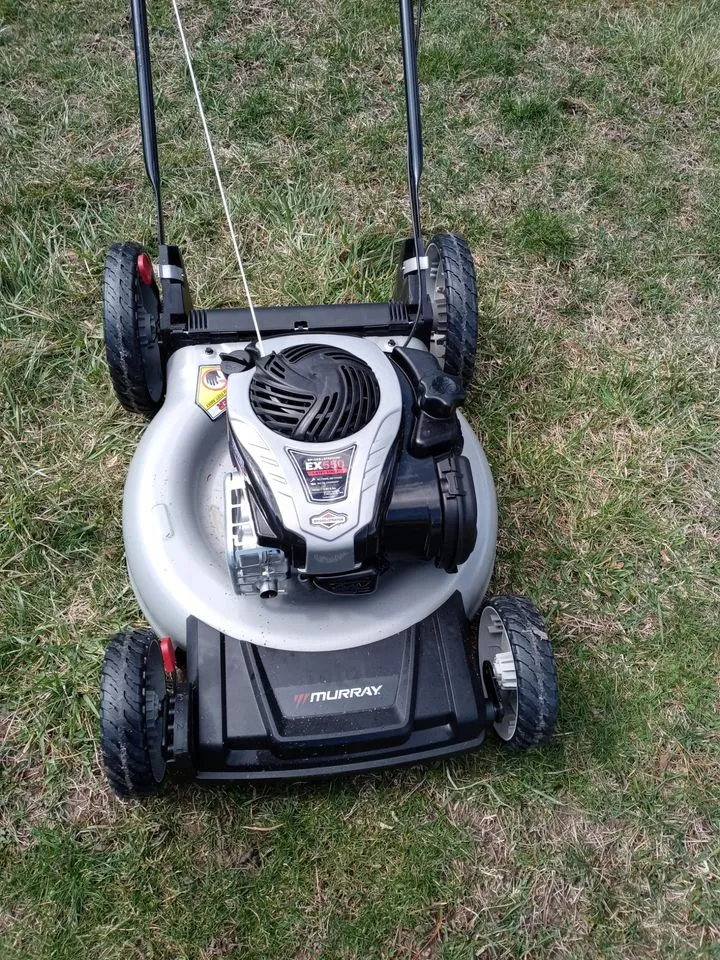
How to Change Oil in Your Lawn Mower
Changing the oil in my lawn mower is a straightforward task that keeps it running smoothly.
I’ll start by warming up the engine, as warm oil drains more easily, and then I’ll make sure to disconnect the spark plug wire to ensure my safety.
Next, I’ll clean around the oil tank to prevent debris from entering, remove the dipstick, and get ready to drain the old oil.
Related: Bad Boy Mower Oil Change: Step-by-Step Guide
Begin Your Mower’s Oil Change with Warm Oil
- Start with a Warm Engine:
- Start your push mower’s engine and let it run for a short period. This process warms up the engine oil.
- Check the Engine Temperature:
- After running the engine for a few minutes, turn it off. Ensure that the engine is warm but not overly hot to the touch.
- Understand the Benefits of Warm Oil:
- Recognize that a warm engine lowers the viscosity of the oil, meaning the oil becomes thinner and less thick. This is important for the next steps as thinner oil flows more easily.
Remove the Spark Plug Wire for Safe Lawn Mower Maintenance
- Locate the Spark Plug Wire:
- Identify the spark plug wire on your mower. It’s usually attached to the spark plug, which is found on the engine.
- Disconnect the Spark Plug Wire:
- Gently but firmly grasp the spark plug wire. Pull it away from the spark plug to disconnect it. Ensure you’re pulling on the wire’s boot or connector, not the wire itself, to avoid damage.
- Inspect the Spark Plug Wire:
- Once the wire is removed, inspect it for any signs of wear, cracks, or damage.
- Look closely along the length of the wire and at the connectors for any visible issues.
Clean the Area Around the Oil Tank
- Remove the Oil Cap:
- Carefully remove the cap from the oil tank. Be sure to place the cap on a clean surface to avoid contaminating it.
- Clean the Surrounding Area:
- Use a clean rag to wipe around the opening of the oil tank.
- Thoroughly remove any grass clippings, dirt, leaves, or other debris that might be present. This step is essential to prevent such materials from entering the oil tank during the oil change.
- Inspect the Oil Tank:
- Take a moment to inspect the oil tank and its surrounding area for any signs of leaks or damage.
- Look for cracks, wear, or any other issue that might affect the performance of the mower.
- Replace the Oil Cap:
- After the inspection and cleaning, replace the oil cap securely on the oil tank.
- Ensure that the cap is fitted properly to prevent any contamination or leakage.
- Prepare for the Next Step:
Remove the Dipstick and Prepare to Drain the Oil
- Remove the Dipstick:
- Locate the dipstick on your lawn mower, which is usually found on the top of the oil tank.
- Carefully remove the dipstick to open up the pathway for oil drainage.
- Locate the Drainage Point:
- Identify the drainage location on your mower, which is typically found at the bottom or side of the engine.
- Position the Disposal Container:
- Place a suitable container underneath the mower’s drainage point to catch the old oil.
- Make sure the container is large enough to hold all the oil without spilling.
Drain the Oil
- Position the Mower for Draining:
- Carefully tip the mower to its side, ensuring that the oil drain point is directly above the disposal container.
- Be cautious to maintain a stable and controlled tilt to avoid spilling oil outside of the container.
- Allow the Oil to Drain:
- Wait for the oil to flow out into the disposal container. The duration of this process can vary depending on the oil’s viscosity.
- Thicker or colder oil may take longer to drain completely.
- Use an Appropriate Collection Pan:
- Employ a pan or container large enough to collect all the oil without risk of overflow.
- Ensure the pan is positioned correctly to catch the draining oil.
Return the Mower to an Upright Position
- Confirm Oil Drainage Completion:
- Make sure that all the old oil has been completely drained from the mower before attempting to return it to an upright position.
- Lift the Mower Carefully:
- Use effective stabilization methods to slowly and carefully lift the mower.
- Keep your back straight and lift with your legs, not your back, to avoid strain.
- Secure the Mower in Upright Position:
- Gently ease the mower down to its wheels.
- Make sure the mower is secure and stable in its upright position before letting go.
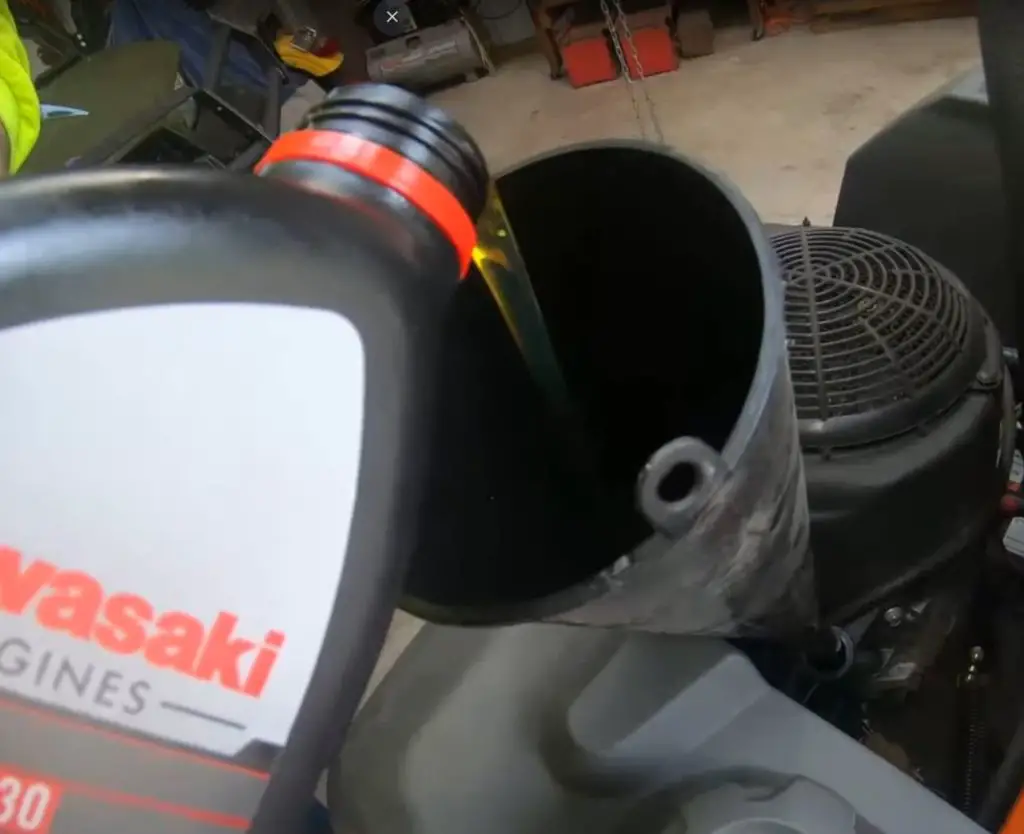
Refill Your Machine with Fresh Oil
- Ensure Mower Is Upright and Stable:
- Double-check that your mower is in a stable and upright position after completing the previous steps.
- Select the Correct Oil Type:
- Choose the right type of oil for your mower. Consult the owner’s manual to determine the appropriate oil type and viscosity grade.
- Remember, the oil viscosity should be suitable for the range of temperatures you experience in your mowing season.
- Check Oil Capacity in Manual:
- Before starting to refill, look up the oil capacity in the mower’s owner’s manual. This helps in avoiding overfilling the oil tank.
- Pour Oil Slowly:
- Begin pouring the fresh oil into the mower’s engine slowly and steadily.
- Take your time to prevent spilling and to ensure accurate filling.
- Use the Dipstick to Check Oil Level:
- Periodically stop pouring and use the dipstick to check the oil level.
- Wipe the dipstick clean before each measurement to ensure an accurate reading.
- Continue pouring and checking until the oil reaches the correct level as indicated in the owner’s manual.
Let the Oil Settle
- Pause After Refilling:
- Once you have refilled the mower with the recommended oil, pause and give the oil some time to settle in the engine. This is important for an accurate oil level assessment.
- Allow Oil to Stabilize:
- Wait for a few minutes to let the oil viscosity stabilize. This ensures that when you check the oil level with the dipstick, you get a true reading.
- Recheck Oil Level:
- After allowing sufficient time for the oil to settle, recheck the oil level using the dipstick.
- Wipe the dipstick clean, insert it back into the tank, then pull it out again to check the oil level.
- If the oil level is below the recommended mark, carefully add more oil, then wait again for it to settle before rechecking.
Clean Up the Work Area
- Assess the Work Area for Spills:
- Take a moment to look around your work area for any oil spills or debris that might have occurred during the maintenance process.
- Gather Absorbent Materials:
- Collect any used oil absorbent materials, such as rags, absorbent pads, or newspapers, that you placed down to catch spills.
- Make sure they have effectively soaked up any accidental spills. Dispose of them properly if they are saturated with oil.
- Organize and Clean Tools:
- Return all tools used during the oil change to their rightful place.
- Clean any tools that may have oil or debris on them before storing them away.
- Dispose of Waste Properly:
- Ensure that the old oil collected during the drain process is stored in a sealed container for disposal.
- Take both the old oil and any oil-soaked materials to a certified recycling or disposal center.
- Tidy Up the Workspace:
- Once all materials and tools are taken care of, give your workspace a final sweep or wipe down.
- A clean workspace prevents accidents and makes future maintenance tasks more pleasant.
Reattach the Spark Plug Wire
- Reconnect the Spark Plug Wire:
- Gently align the end of the spark plug wire with the spark plug.
- Push the wire onto the spark plug firmly until it clicks into place. This click is important as it indicates a secure connection.
- Ensure Secure Connection:
- Give the wire a gentle tug to make sure it is securely attached to the spark plug. The wire should not come off easily if it’s properly connected.
- Check for Proper Placement:
- Ensure that the wire is not touching any moving parts of the mower.
- The placement should be such that the wire is clear of the mower’s blade and other operational components.
- Final Safety Inspection:
- Once the wire is securely in place, do a quick overall inspection of the mower to ensure everything else is in order and safe for operation.
- Mower Ready for Use:
- With the spark plug wire reattached and everything checked, your mower is now ready to be started and used for lawn maintenance.
Essential Insights on Lawn Mower Oil Maintenance
A key aspect of this maintenance is understanding the importance of regular oil changes, the type of oil suitable for your specific mower engine, and the responsible disposal of used oil.
Whether you’re a seasoned gardener or a newbie to lawn care, these insights will help you keep your push mower running smoothly and responsibly.
How Often to Change Lawn Mower Oil
- Start of the Mowing Season (Spring):
- Initial Change: At the beginning of the mowing season, change the oil to ensure your mower starts with fresh oil. This is especially important if you didn’t change the oil before storing it for the winter.
- During the Mowing Season:
- Regular Checks: Before each use, especially in heavy-use periods like summer, check the oil level and its condition.
- Interval Changes: If your mower sees regular use, change the oil every 50 hours of operation, or as recommended by the manufacturer.
- End of the Mowing Season (Fall):
- Pre-Storage Change: Change the oil at the end of the mowing season before storing your mower for the winter. This helps to protect the engine and ensures it’s ready for use when spring arrives.
Initial Oil Change for New Engines
The first oil change in a new or recently installed lawn mower engine is crucial for its long-term health.
This initial change, done after the first 5-10 hours of use, is necessary to remove any residual particles from the manufacturing process. These particles, if not removed, can cause significant wear and tear over time.
Proper Disposal and Recycling of Used Engine Oil
The environmental impact of used engine oil is significant, and improper disposal can lead to soil and water contamination. It’s important to inform readers about responsible disposal methods.
Used oil should be collected in a sealable container and taken to a recycling center or a facility that accepts hazardous waste. Many automotive shops also offer free used oil recycling.
Types of Oil for Different Engines
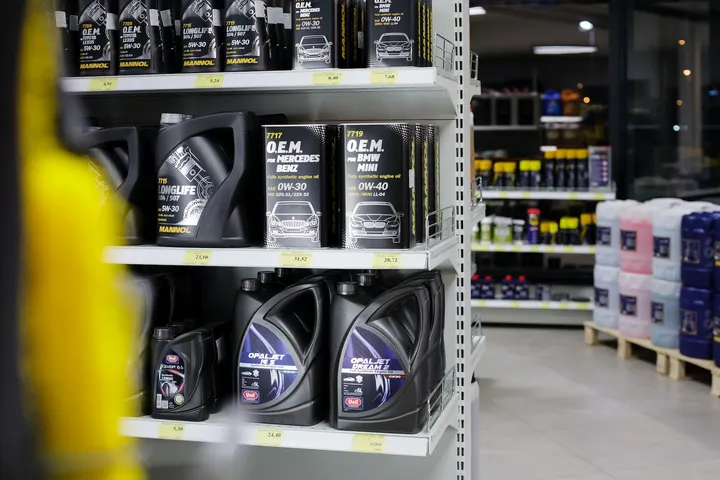
Different lawn mower engines require specific types of oil for optimal performance. While most lawn mowers use SAE30 oil, some engines, like those from Kohler, require an air-cooled 10W-30 oil.
It’s essential to consult the owner’s manual to determine the right oil type for your specific mower model. This ensures that the engine is properly lubricated and protected, which can significantly affect its efficiency and longevity.
Streamlining Your Lawn Mower Oil Change
Embarking on the task of changing your lawn mower’s oil can seem daunting, but with the right tools and a bit of know-how, it’s a surprisingly manageable and rewarding task.
Tools and Materials
- Right Oil Viscosity: Choose the correct oil viscosity as specified in your mower’s manual, aligning with the manufacturer’s maintenance schedule.
- Wrench or Socket Set: Needed for loosening and tightening any bolts during the oil change process.
- Oil Pan: To catch the old oil when draining it from the mower.
- Funnel: Essential for pouring new oil into the mower without causing spillage.
- Gloves: To keep your hands clean and protected from the oil.
- Rags/Paper Towels: Handy for cleaning up any accidental spills or drips.
- Filter Wrench (If Applicable): Necessary for replacing the oil filter, if your mower is equipped with one.
- Disposal Preparations: Have a sealable container ready for proper disposal of used oil and filter, adhering to local recycling regulations.
Using a Siphon/Pump Method for Oil Change
Besides the traditional tilt method, a siphon or pump can be used to change the oil in a lawn mower. This method involves using a device like the Arnold Siphon Pump to extract the oil directly from the oil fill tube.
It’s an efficient alternative for those who prefer not to tilt their mower, especially useful for larger or heavier models.
Safety Precautions for Handling Hot Engines
Handling a hot engine requires specific safety precautions to prevent burns and injuries. When warming up your mower’s engine to thin the oil, it’s crucial to be cautious around the heated components.
Always wear protective gloves and avoid direct contact with the engine. Be particularly mindful of the exhaust and other parts that can retain heat even after the engine is turned off.
Additionally, make sure your workspace is well-ventilated to handle any exhaust fumes safely.
Our Verdict
In my experience, changing the oil in my favorite push mower is more than just a routine task; it’s an act of care for a machine that’s central to my gardening.
Each step, from warming up the engine to disposing of the used oil responsibly, feels like I’m contributing to both the longevity of my mower and the well-being of the environment.
I’ve found that using the right oil, like SAE30 or 10W-30 depending on the engine, really does make a difference in performance.
And the satisfaction of knowing my mower is running on clean oil? It’s unmatched.
I encourage you not to overlook this essential maintenance. By taking the time to do it right, your lawn will look its best, and your mower will thank you in its own quiet way.
Remember, proper care extends beyond the blade – it’s in every drop of oil you change.
Frequently Asked Questions
Can I use synthetic oil in my push mower, and if so, what are the benefits?
Yes, I can use synthetic oil in my mower. It offers advantages like stable viscosity in various climates, better engine compatibility, and could reduce my mower’s maintenance frequency due to its durable nature.
How do I know if I’ve overfilled the oil, and what should i do if that happens?
I’ll check the oil level with the dipstick. If there’s overfill, I’ll notice smoke or leaks. I’ll then use proper drainage techniques and follow disposal guidelines, keeping environmental precautions in mind.
Can changing the type or brand of oil affect my lawn mower’s performance or warranty?
Switching oil types or brands can impact my mower’s performance and engine lifespan. I’ll check the warranty terms and consider maintenance frequency to ensure oil compatibility aligns with my mower’s performance metrics.
Is there a difference in the oil change process for a push mower with an electric start versus a pull-cord start?
I don’t see major differences in oil changes between engine types, but I do check maintenance frequency and oil viscosity. I follow the same safety precautions and disposal methods for both electric and pull-cord starts.
How can I properly store leftover oil for future use, and how long is it good for?
I’ll store leftover oil in a sealed, airtight container to maintain oil stability. I’ll keep it in a cool place since temperature effects can degrade the oil, which should last up to five years.