
With over a decade of experience in small engine repair and maintenance, I’ve honed my expertise in handling intricate tasks like cleaning the carburetor on a riding lawn mower.
This guide is crafted to provide you with straightforward, practical advice on this essential maintenance task.
Understanding the importance of a clean carburetor for optimal mower performance, my aim is to impart knowledge that is both actionable and trustworthy.
No fluff, just essential information that empowers you to maintain your mower’s efficiency and prolong its life. Let’s dive into the steps you need to ensure your riding lawn mower runs smoothly and efficiently.
Quick Summary
- To effectively clean a carburetor on a riding lawn mower, start by cleaning the engine exterior, then disassemble and meticulously clean each component of the carburetor.
- Advanced maintenance tips such as using photographic documentation for reassembly and conducting regular preventive maintenance are crucial for optimal carburetor performance.
- Regular carburetor maintenance can improve fuel efficiency by up to 25% for most riding mowers.
- Personally, I find that cleaning the carburetor is a rewarding task that enhances mower performance and extends its lifespan.
Step-By-Step: Cleaning Your Lawn Mower’s Carburetor
Here are the steps outlined in the article for cleaning a carburetor on a riding lawn mower:
- Clean the Engine Exterior: Remove any debris or dirt from the engine’s exterior.
- Access the Carburetor: Take off the air filter to reach the carburetor.
- Remove the Carburetor: Detach the carburetor from the mower for cleaning.
- Disassemble the Carburetor: Carefully take apart the carburetor for detailed cleaning.
- Replace Worn Parts: Inspect and replace any worn-out components of the carburetor.
- Clean the Carburetor and Its Components: Thoroughly clean each part of the carburetor.
- Reassemble the Carburetor: Put the carburetor back together accurately.
- Performance Test After Maintenance: Conduct a test to ensure the mower runs smoothly with the cleaned carburetor.
Related: How to Clean Carburetor on Push Mower
Preparatory Steps
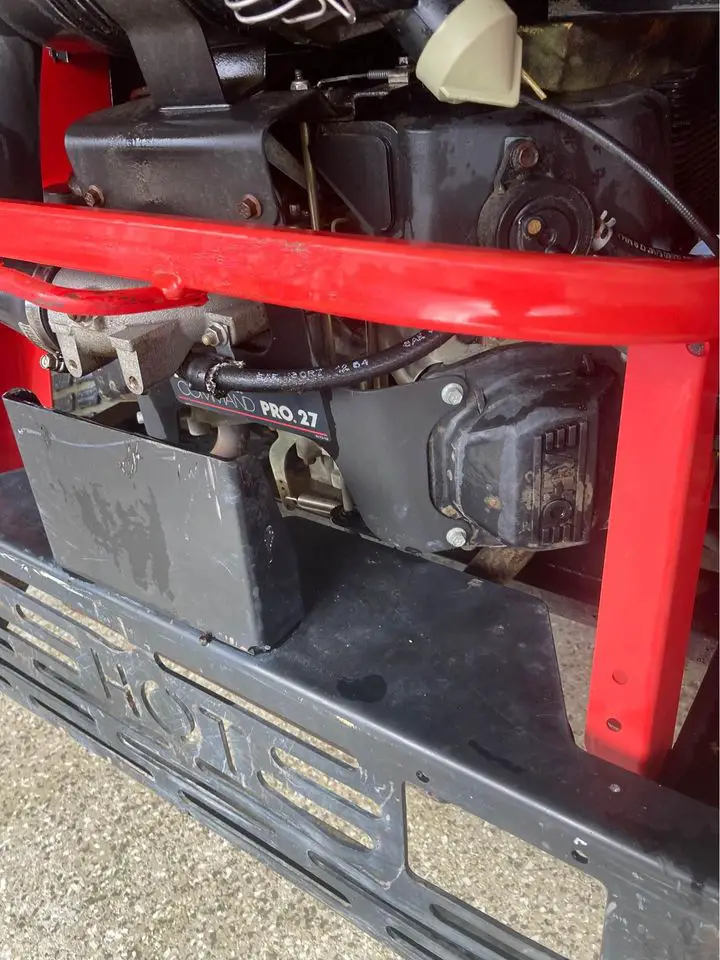
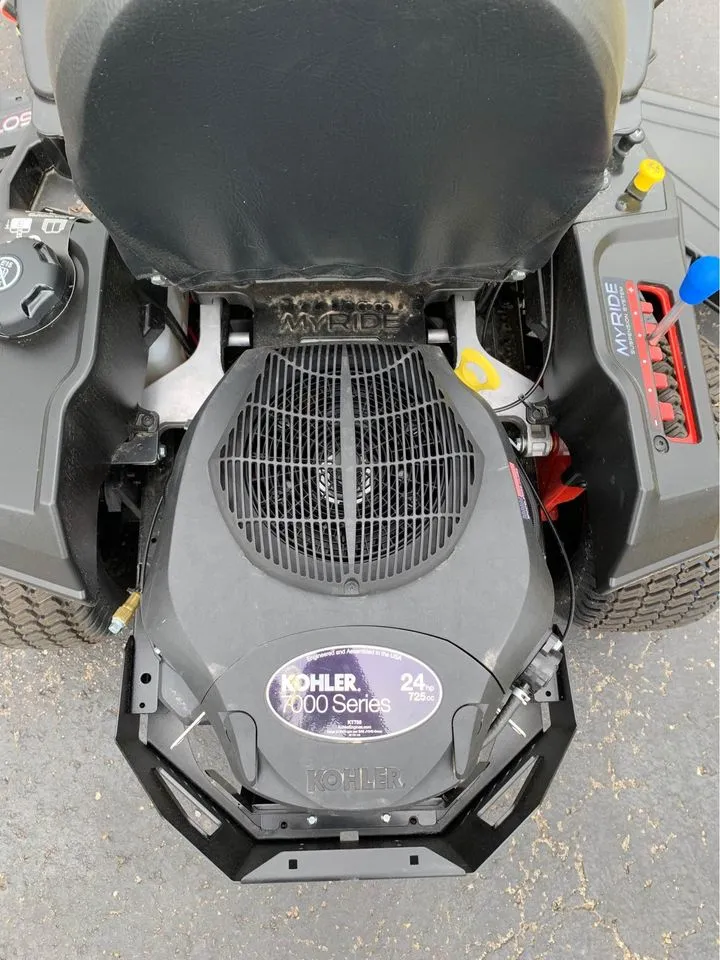
To ensure a smooth start to cleaning your riding lawn mower’s carburetor, first locate the component by consulting your mower’s manual for its exact position.
Taking safety precautions seriously, I always disconnect the spark plug to prevent accidental starts. Then, I select the right tools for the job — typically a set of screwdrivers and wrenches.
Before I begin, I drain the fuel to avoid spills, which also reduces the risk of fire.
I set up a clean, well-lit work environment with all the necessary items within reach. This includes a tray for organizing parts so I don’t lose anything during disassembly.
Once everything’s in place, I’m ready to start the actual cleaning process, confident that I’ve set myself up for a hassle-free experience.
Step 1: Begin with Cleaning the Engine Exterior
Starting with the engine exterior, I carefully brush off any debris and dirt to prevent contamination when opening the carburetor. It’s crucial for dirt prevention, as even a tiny spec can wreak havoc inside the engine.
With tool selection in mind, I ensure I’ve a soft brush and compressed air at hand to gently remove loose particles.
Next, I suit up in protective gear, including gloves and goggles, to shield myself from the grime and any chemical cleaners.
Engine degreasing comes next. I apply a degreaser to the surface, taking care not to overspray onto sensitive components. After letting it sit for the recommended time, I scrub the stubborn areas and then rinse thoroughly.
Step 2: Access the Carburetor by Removing the Air Filter
Having ensured the engine exterior is spotless, I now focus on accessing the carburetor, which begins with the removal of the air filter.
Carefully, I locate the air filter housing and proceed to unfasten it, often requiring either a screwdriver or simply releasing a set of clips. With the housing out of the way, I’m able to get a clear view of the carburetor.
Next, I carefully disconnect the fuel line attachment to prevent any spillage. I’m attentive to the throttle linkage and choke adjustment, making sure I understand how they’re connected before I detach anything.
This way, I won’t have trouble reassembling them later.
Lastly, I observe the idle speed control for any signs of dirt or wear before I continue with the actual cleaning process.
Step 3: Remove the Carburetor
With the air filter housing and fuel line detached, I’m ready to carefully remove the carburetor from the riding lawn mower for a thorough cleaning. Before I start, I’ve taken safety precautions, ensuring the mower is off and the spark plug is disconnected.
The right tool selection is crucial here – I’m using a socket wrench that fits the mounting bolts precisely. As I work, I’m mindful of the carburetor adjustment screws; they’re delicate and essential for the engine’s performance.
I’ve also drained the fuel to prevent spills and potential hazards. While removing the carburetor, I’m looking for signs of trouble that can offer troubleshooting tips for later reassembly.
With every part in clear view, I’m set to tackle the cleaning stage.
Step 4: Disassembling the Carburetor
Now that the carburetor is removed, I’ll proceed to disassemble it for a comprehensive cleaning.
First, it’s crucial to identify which type of carburetor I’m dealing with. Knowing the specifics helps me choose the right tools and understand the necessary adjustment tips for reassembly.
With the correct screwdrivers and wrenches at hand, I’m careful to take safety precautions, like draining any remaining fuel to ensure the fuel quality doesn’t compromise my work area.
I carefully remove each component, keeping track of where each part fits for easy reassembly. I’m also mindful of the small parts and take extra care not to misplace anything.
Thorough cleaning can’t be rushed, and with patience, I’ll have a smoothly running carburetor once it’s all back together.
Step 5: Replacing Parts That Show Signs of Wear
During the disassembly process, I inspect each part for wear and prioritize replacing any components that show signs of deterioration. Wear indicators, like cracks or abrasions, guide me in determining which parts can’t be salvaged.
I always ensure part compatibility; using the wrong replacements can lead to more problems down the line. Sometimes, I’ll even consider upgrade options, which can improve performance or extend the life of the mower.
I’ve learned that adhering to the recommended maintenance frequency prevents many issues from arising in the first place.
Lastly, I’m careful about proper disposal of old parts—environmental responsibility is just as important as mechanical maintenance.
Step 6: Cleaning of the Carburetor and Its Components
After replacing worn-out parts, I turn my attention to cleaning the carburetor, a crucial step for ensuring my riding lawn mower runs smoothly. I’m aware that fuel additives and ethanol impacts can gunk up the system, so I’m thorough.
I start by removing the carburetor and disassembling it. I inspect each part, especially the jets and idle adjustment screw, for any blockages. Jet cleaning is meticulous work; I use a carburetor cleaner spray and compressed air to ensure each passageway is clear.
Next, I check the choke function, making sure it operates freely. After reassembling, I’m careful to adjust the idle setting. My mower’s performance hinges on these details, and I’m not cutting any corners.
Step 7: Putting the Carburetor Back Together
I start with carburetor reassembly, carefully placing the gasket to avoid any misalignment that could cause leaks. I’m precise with tightening bolts, ensuring they’re snug but not overtightened, which could damage the carburetor.
Next, I reconnect the linkage connections, taking care to attach each rod and spring as they were before. It’s crucial these move freely for the throttle and choke to operate correctly.
Finally, I make the idle adjustment, turning the screw to the manufacturer’s setting. A well-adjusted idle is vital for smooth engine operation.
Now, the carburetor should be as good as new, ready to power up my mower for another season.
Step 8: Performance Test After Maintenance
Once the carburetor is reassembled and mounted back onto the mower, it’s crucial to conduct a performance test to ensure everything operates smoothly.
I start by checking if there are any starting issues; a clean, well-assembled carburetor should start the engine without hitches.
With the engine running, I observe the throttle response; it should be crisp and immediate. Any hesitation or sputtering may indicate that I need to revisit the carburetor’s settings.
Next, I let the mower idle to check the idle adjustment. The engine should run at a steady pace without stalling. If it stalls, I’ll need to adjust the idle screw.
Advanced Tips and Techniques for Optimal Maintenance
In the realm of riding lawn mower maintenance, cleaning and caring for the carburetor stands out as a vital task for ensuring optimal performance and longevity.
While the basics of this process are well-known, there are additional tips and techniques that can elevate your maintenance routine to the next level.
Photographic Documentation for Reassembly
A critical but often overlooked aspect of carburetor maintenance is the use of photographic documentation during disassembly. This practice can significantly aid in the accurate reassembly of the carburetor, especially for beginners.
By taking detailed photos at each step, especially for complex parts like the throttle and choke cables, you create a visual guide that can be invaluable when piecing everything back together.
Advanced Troubleshooting Tips
After cleaning a carburetor, issues like irregular idling, fuel flow problems, and throttle response inconsistencies can arise. Providing advanced troubleshooting tips for these common post-cleaning problems can be extremely beneficial.
Preventive Maintenance and Regular Checkups
This could involve simple yet effective steps like regular inspections for leaks, ensuring all connections and parts are secure, and checking the air-fuel mixture.
Significance of Fuel Quality and Additives
The type of fuel and additives used in your riding lawn mower can have a profound impact on the health of your carburetor.
Ethanol-blended fuels, common in many areas, can lead to the accumulation of white crusty deposits within the carburetor, hindering its efficiency.
Environmental and Safety Considerations
Dealing with carburetor cleaning involves handling various chemicals and disposing of old parts. Highlighting environmental and safety considerations is crucial.
This includes using protective gear like gloves and goggles, ensuring proper ventilation when using chemicals like carburetor cleaner, and adhering to local regulations for the disposal of old carburetor parts and chemicals.
Our Verdict
Diving into the world of carburetor maintenance on my favorite riding lawn mower, I’ve realized it’s not just a chore, but a journey into the heart of the machine. With just a basic toolkit and a dose of patience, I transformed a daunting task into a satisfying DIY project.
The results? Remarkable. My mower is running smoother than ever, showcasing the power of a well-maintained carburetor.
The journey taught me more than just the mechanics; it was a lesson in diligence and the rewards of hands-on care. For anyone hesitating to take the plunge, I say go for it. The experience is enriching, and the outcome is a mower that runs like a dream.
This isn’t just maintenance; it’s a way to connect with your machine and ensure it gives you the best performance possible.
Frequently Asked Questions
Can cleaning my riding lawn mower’s carburetor improve its fuel efficiency?
Yes, cleaning my carburetor can boost fuel efficiency, enhance performance metrics, reduce emissions, and extend engine longevity. It also means fewer maintenance intervals, saving me time and keeping my mower running smoothly.
How often should I clean the carburetor on my riding lawn mower to maintain optimal performance?
I’ll perform seasonal maintenance, including carburetor cleaning, to ensure my mower’s at peak condition. I do performance checks, visual inspections, and storage preparations regularly as preventive measures against issues.
Are there any signs that indicate my riding lawn mower’s carburetor needs cleaning aside from starting issues?
I’ve noticed engine stuttering, power fluctuation, irregular idling, foul emissions, and acceleration hesitation. These symptoms suggest it’s time to check my lawn mower’s carburetor for potential cleaning or maintenance needs.
Can I use the same carburetor cleaning techniques for my riding lawn mower as i would for a car or motorcycle?
I’ve found that carburetor comparisons show that while cleaning agents may overlap, disassembly differences, material considerations, and tool variations often necessitate adapting my approach for each type of engine.
What safety precautions should I take when handling the chemicals used in cleaning a carburetor?
I always wear protective gloves and eye protection to prevent chemical burns and inhalation. I ensure adequate ventilation and follow local disposal regulations to safely handle the cleaning chemicals.