
In my professional experience, a clean carburetor ensures optimal performance and extends the life of your push mower, making it a critical skill for any lawn care enthusiast to master.
Today, I’ll be walking you through the steps I take to clean a carburetor, from the initial preparations to the final tweaks that get you back to perfecting your lawn’s stripes.
Quick Summary
- Cleaning a carburetor on a push mower involves disassembling, cleaning each part with specialized cleaners, and reassembling for optimal mower performance.
- Regular carburetor maintenance includes checking and cleaning the air filter, fuel lines, and inspecting for signs of wear or damage.
- Studies indicate that routine maintenance, including carburetor cleaning, reduces the likelihood of lawn mower engine failures by 30%.
- In my experience, keeping the carburetor clean not only enhances mower efficiency but also extends its lifespan, making it a worthwhile skill for any lawn enthusiast.
Step-By-Step Push Mower Carburetor Cleaning Guide
Before we get into the nitty-gritty, I’ll walk you through locating and prepping your push mower’s carburetor for a thorough cleaning.
I’ll show you how to start by cleaning the engine exterior and removing the air filter to gain access to the carb.
Then, we’ll tackle removing and disassembling the carburetor step by step, ensuring it runs smoothly for your lawn’s next trim.
Related: How to Clean Carburetor on Riding Mower
Prep for Push Mower Carb Maintenance
To ensure a smooth cleaning process, familiarize yourself with the location and components of your push mower’s carburetor. Knowing whether your engine is a two-stroke or four-stroke impacts your fuel choices and consequently, how you maintain it.
For instance, a two-stroke engine requires a mix of oil and gas, which can affect how often you need to clean the carburetor.
Maintenance frequency can vary, but it’s generally a good idea to check the carburetor at least once at the start or end of the mowing season.
Before I get started, I make sure to follow safety precautions, like disconnecting the spark plug to prevent accidental starts. I also consult my mower’s manual for storage tips, to prevent future carb issues due to improper storage.
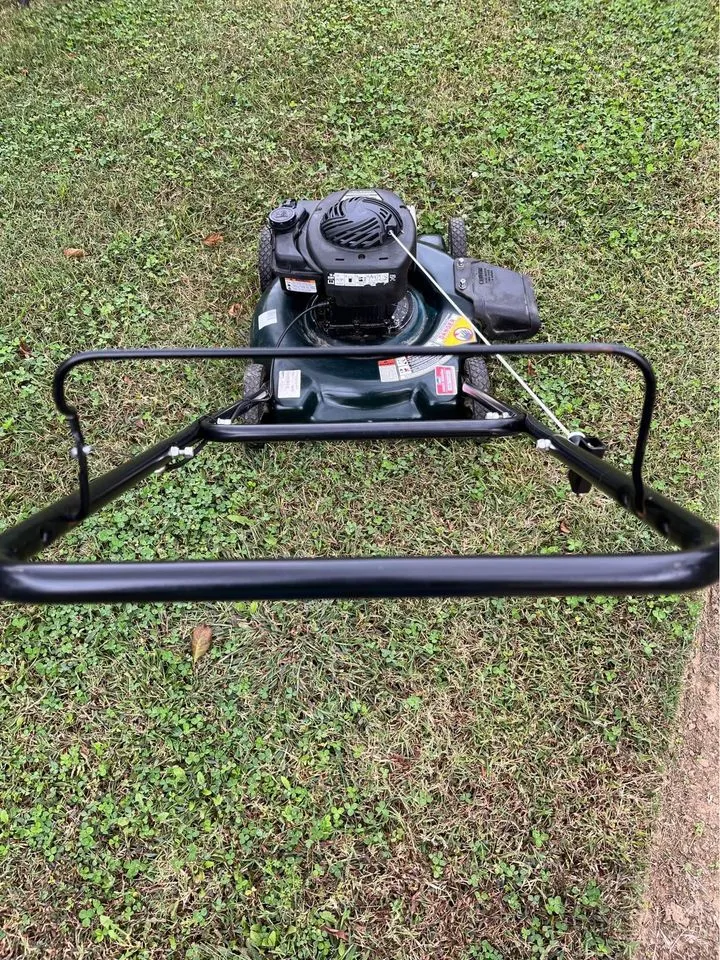
Step 1: Clean Push Mower Engine Exterior
I start by wiping down the surface to prevent any dirt from entering the engine, which could impact engine lubrication.
I apply a protective coating to guard against exterior rust, ensuring longevity and performance.
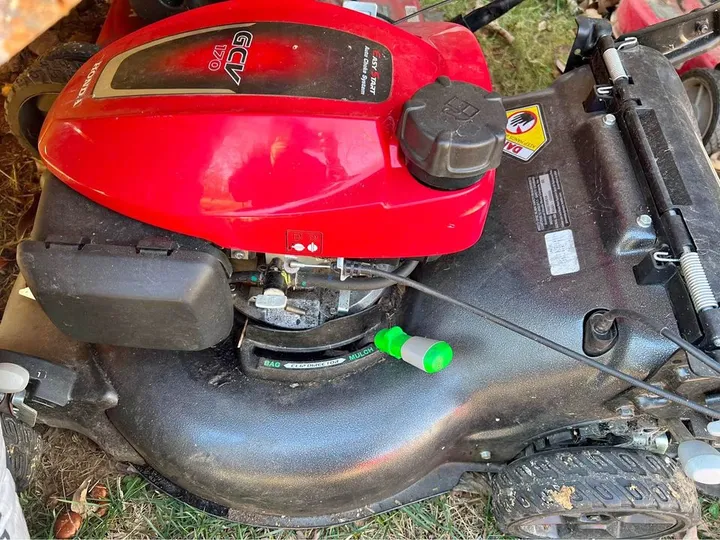
Step 2: Air Filter Removal to Access Carburetor
Accessing the carburetor for a thorough cleaning begins with the removal of the air filter, a simple yet essential step in maintaining your push mower’s performance.
I’m mindful of air filter types; some mowers have foam filters, while others use paper elements. I locate the filter housing, usually a plastic cover on the side of the engine, and release it—often no tools are needed.
Sticking to a regular maintenance schedule, I check my mower’s air filter after every few uses. Filter cleaning methods vary; foam can be washed and re-oiled, but paper requires gentle tapping or replacement.
I’m on the lookout for filter replacement signs, like excessive dirt or damage, which can choke the engine, compromising efficiency and longevity.
Step 3: Remove Push Mower Carburetor
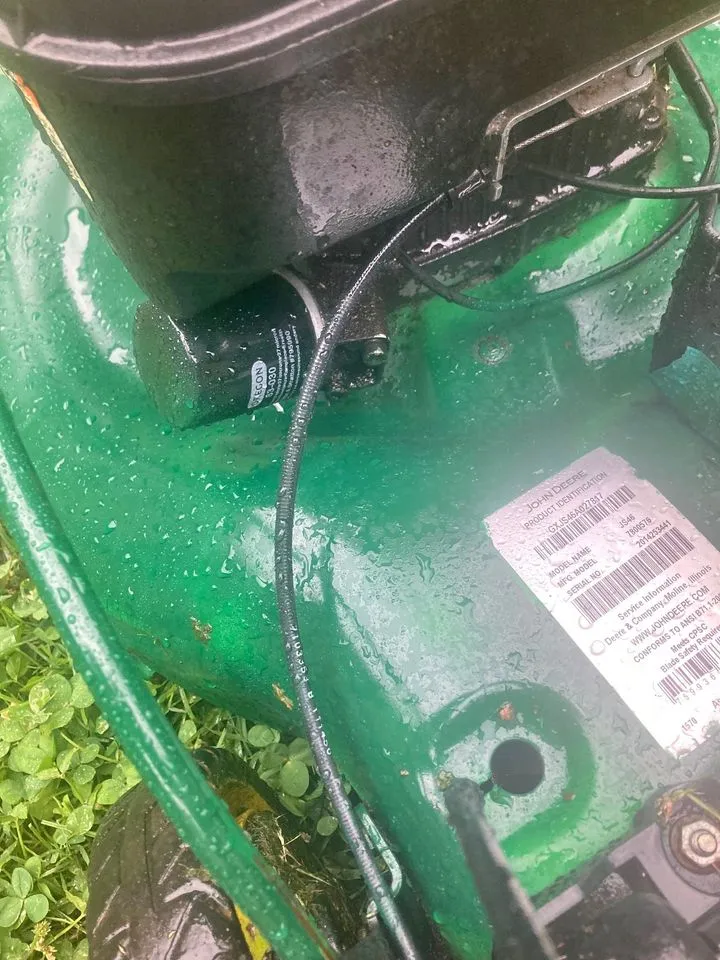
Once the air filter is removed, I locate the carburetor, typically mounted on the side of the engine, to begin its removal for cleaning. Carburetor identification is key; it usually has a metal bowl underneath and linkage connections above.
I carefully disconnect the fuel line, ensuring I’ve shut off the fuel valve to prevent spills. The throttle linkage setup can be tricky; I take a photo before disassembly for reference during reassembly.
With gentle maneuvers, I free the carburetor, noting the position of the choke valve, which will need cleaning.
Removing the carburetor is a vital step in engine performance troubleshooting; it allows me to address issues that might be hindering my mower’s efficiency.
Step 4: Disassemble Push Mower Carburetor
Disassembling the push mower carburetor is a straightforward process that involves removing the bowl, float, and jets for thorough cleaning. Before I start, I make sure the fuel tank is empty to avoid spills.
I often use fuel additives to keep the carburetor clean, but they’re no substitute for regular maintenance. After the mowing season, I follow storage tips like draining the fuel to prevent buildup.
If I encounter issues, I refer to troubleshooting steps or consult the manual for the adjustment process. Carefully, I keep track of each component I remove, ensuring they go back in the right place during reassembly.
Step 5: Replace Worn Carburetor Parts
During the cleaning process, I inspect each carburetor component for wear and replace parts that show signs of deterioration. Gasket inspection is critical; a cracked or worn gasket can lead to air leaks and engine issues.
If I find damage, I promptly replace it to ensure a proper seal.
Regular use of fuel additives can reduce deposits, but sometimes the jet calibration is off, affecting fuel flow. I make sure to recalibrate or replace the jets if needed.
Idle adjustment is another area I check. A smooth idle ensures the mower runs efficiently.
Lastly, the choke function is vital for starting the engine. If the choke isn’t operating smoothly, the mower can be hard to start, so I replace any faulty parts to maintain easy start-ups.
Step 6: Clean Push Mower Carburetor
remove the carburetor and inspect it for common carburetor symptoms like starting issues or rough idling. Fuel additives can be a lifesaver, especially to combat ethanol impacts that may gum up the system.
Carefully, I’ll clean the carburetor with a specialized cleaner, paying close attention to the jets and passages.
Next, I’ll check the spark plug function, as a dirty spark plug can mimic carburetor problems.
Step 7: Reassemble Push Mower Carburetor
Start by carefully positioning the springs, making sure their placement is precise for proper throttle response. Then, I reattach the float and needle, critical for controlling the fuel mixture.
Next, I focus on the carburetor tuning, meticulously adjusting the screws for idle and mixture settings. This step is vital; if I get it wrong, the engine might run rough or not at all. I double-check every screw and gasket, ensuring there’s no air or fuel leak.
Once everything’s aligned and secure, I give it one last look. I’m confident that my attention to detail will translate into a smoothly running push mower with responsive acceleration and steady idling.
Step 8: Test Push Mower Post-Maintenance
After reassembling the carburetor, I proceed to test the push mower, ensuring it operates smoothly and efficiently. I follow my maintenance schedule to the letter, recognizing that consistent care is key to engine performance.
Before starting the mower, I check all safety precautions, making sure the area is clear and I’m wearing protective gear. I pull the start cord and listen for any irregularities; a well-maintained carburetor should mean a smooth start.
If there are hiccups, I consult my troubleshooting tips, double-checking my work for any missteps. Once the mower is running properly, I make a few passes on the lawn, observing the cut quality.
It’s not just about the mower; it’s also about lawn health, and a clean carburetor contributes to a cleaner, healthier yard.
Detailed Steps for Diagnosing Carburetor Issues
Before cleaning your mower’s carburetor, it’s important to accurately diagnose the issue. Start by checking the air filter and fuel lines for blockages.
If the engine starts but runs erratically, this could indicate clogged jets. If the mower is hard to start, the choke and throttle might need adjustment. Look for signs like fuel leaks, which suggest a damaged gasket or seal.
Carburetor Maintenance and Troubleshooting
From regular inspection routines to the selection of tools and materials, and from adopting eco-friendly cleaning methods to post-cleaning checks and fixes, we cover everything you need to keep your mower running smoothly.
Importance of Regular Carburetor Inspection and Maintenance
Regular inspection and maintenance of your push mower’s carburetor are crucial for its longevity and efficiency. Overlooking this aspect can lead to buildup and blockages, impacting the mower’s performance.
It’s recommended to check your carburetor at least once a season, especially before the first use in spring and after the last use in autumn. Look for signs of wear, deposits, or damage, and clean or replace parts as necessary.
Regular maintenance not only ensures smoother operation but also helps in identifying issues before they turn into costly repairs.
Tools and Materials for Carburetor Maintenance
For cleaning the carburetor on a push mower, you will need a set of specific tools to ensure a thorough and safe maintenance process. Here’s a list of essential tools for this task:
- Screwdrivers: A set of screwdrivers of various sizes will be needed to remove screws and disassemble parts.
- Socket Wrench Set: This is useful for loosening and tightening bolts on the carburetor.
- Pliers: Regular and needle-nose pliers are helpful for removing and reattaching clamps and hoses.
- Carburetor Cleaner: A specialized carburetor cleaner is necessary to remove dirt and grime from the carburetor components.
- Rags or Towels: These are needed for wiping off excess cleaner and dirt.
- Small Bowl or Container: Useful for holding small parts and capturing any fuel that may spill during disassembly.
- Vice Grips or Clamps: These can be used to pinch and hold the fuel line when disconnecting it from the carburetor.
- Protective Gloves: To protect your hands from chemicals and sharp edges.
- Safety Glasses: To protect your eyes from chemical splashes and debris.
- Wire Brush or Toothbrush: For scrubbing hard-to-reach areas and removing stubborn deposits.
- Compressed Air (optional): Can be used to blow out debris from small passages and jets within the carburetor.
- Replacement Parts (as needed): Depending on the condition of your carburetor, you might need new gaskets, seals, or other specific parts.
Environmental Impact and Eco-friendly Alternatives
While cleaning the carburetor is essential, it’s also important to consider the environmental impact of the solvents used. Chemical cleaners can be harsh and harmful to the environment.
A greener approach, using biodegradable cleaners or homemade mixtures like a vinegar and water solution.
By opting for these greener solutions, you’re not just keeping your mower in top shape, but you’re also contributing to more sustainable lawn care practices. This approach is perfect for those of us who love our lawns and our planet equally.
Post-Cleaning Carburetor Testing and Troubleshooting
After cleaning and reassembling the carburetor, it’s crucial to conduct proper testing to ensure everything is functioning correctly. Start the mower and observe its performance.
If it still doesn’t start or runs poorly, revisit your steps to check for reassembly errors. Make sure the throttle and choke are connected correctly and the fuel line is not blocked.
Providing troubleshooting tips for common post-cleaning issues can guide readers through resolving lingering problems, ensuring a successful maintenance session.
Our Verdict
In my quest to rejuvenate my trusty push mower, I’ve realized that the secret to a sprightly machine lies in the careful maintenance of its carburetor.
I learned that a clean and well-maintained carburetor isn’t just about engine health; it’s about ensuring my mower runs like a dream, saving me both time and unexpected repair costs.
Tackling the carburetor cleaning myself, from disassembly to the final tweaks, was a rewarding experience. It’s not just about keeping the engine running; it’s about embracing the role of a diligent lawn care enthusiast.
I discovered that little things, like choosing eco-friendly cleaning solutions or the right tools, can make a big difference.
And testing the mower post-maintenance? That was the cherry on top, giving me the satisfaction of hearing the engine purr smoothly once again.
So, here’s my takeaway: regular carburetor maintenance is not just a chore; it’s an essential ritual that keeps my lawn looking picture-perfect.
Frequently Asked Questions
Can cleaning my push mower’s carburetor improve its fuel efficiency?
Yes, cleaning the carburetor can boost fuel efficiency, enhance engine performance, and prolong its life. It ensures better fuel quality and may reduce the frequency of future maintenance.
How often should I clean the carburetor on my push mower to maintain optimal performance?
I should clean my carburetor according to the maintenance schedule, usually once a season. Performance indicators like starting issues signal extra care. Regular visual inspections and timely replacement parts also keep it in top shape.
Are there any environmentally friendly alternatives to traditional carburetor cleaning solvents?
I’ve found that biodegradable cleaners, vinegar solutions, and citrus degreasers are eco-friendly alternatives. I also explore mechanical methods and ultrasonic cleaning to avoid harsh chemicals while keeping my gear in top shape.
Can I use a pressure washer to clean my push mower’s carburetor, or will that cause damage?
I wouldn’t use a pressure washer; it risks seal integrity and can lead to water contamination and component corrosion. Instead, I’ll consider safer cleaning alternatives to protect my equipment.
If my push mower still doesn’t start after cleaning the carburetor, what should be my next troubleshooting steps?
If it still won’t start, I’ll do a spark check, inspect the air filter, assess fuel quality, examine the ignition system, and conduct a compression test to pinpoint the issue.