Your essential guide on replacing the drive belt on a Husqvarna zero turn mower. With over ten years of experience in lawn care and mower maintenance, I’m here to offer you straightforward, expert advice.
Rely on my expertise to guide you through each stage, ensuring your mower remains in top condition.
Quick Summary
- Step-by-step guide on how to replace drive belt on Husqvarna zero turn mower, ensuring smooth operation and power transfer from the engine to the mower deck.
- Emphasizes the importance of safety and preparation, including positioning the mower on a level surface, activating parking brakes, and disconnecting spark plug wires before starting the replacement process.
- Details the roles and locations of crucial components like the blade belt, idler pulley, and clutch pulley, and guides on releasing tension and properly detaching the old drive belt.
- Offers instructions on installing the new drive belt with correct alignment and tensioning, and provides maintenance tips for prolonging belt life, including regular inspections and troubleshooting common issues.
Safety Precautions and Preparation
Ensuring a safe and secure working environment can significantly reduce the risk of damage or accidents to your mower.
Begin by positioning your mower on a level surface, activating the parking brakes, and disconnecting the spark plug wires.
This simple yet critical step helps prevent any unintended movement or accidental starting of the mower during the belt replacement process.
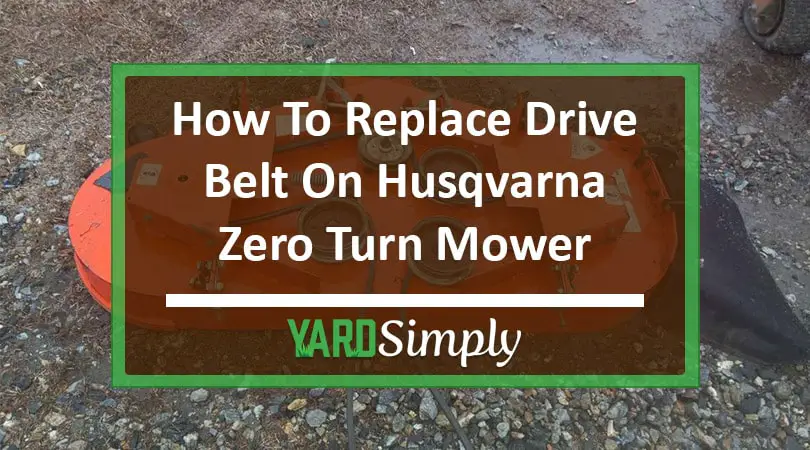
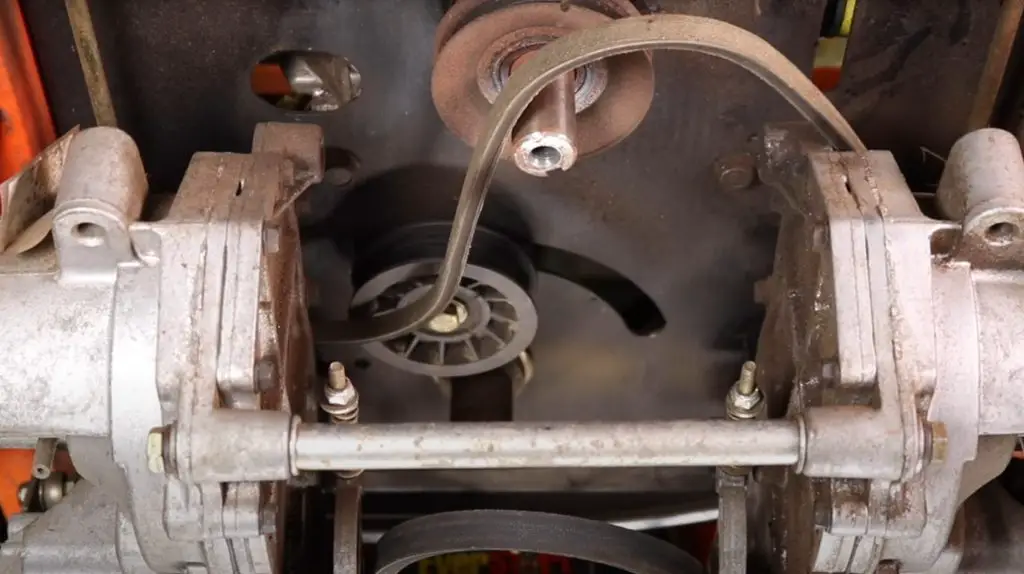
Identifying the Drive Belt and Components
The drive belt system consists of the blade belt, idler pulley, and clutch pulley. Knowing the roles and locations of these components will ensure a successful replacement.
Drive Belt
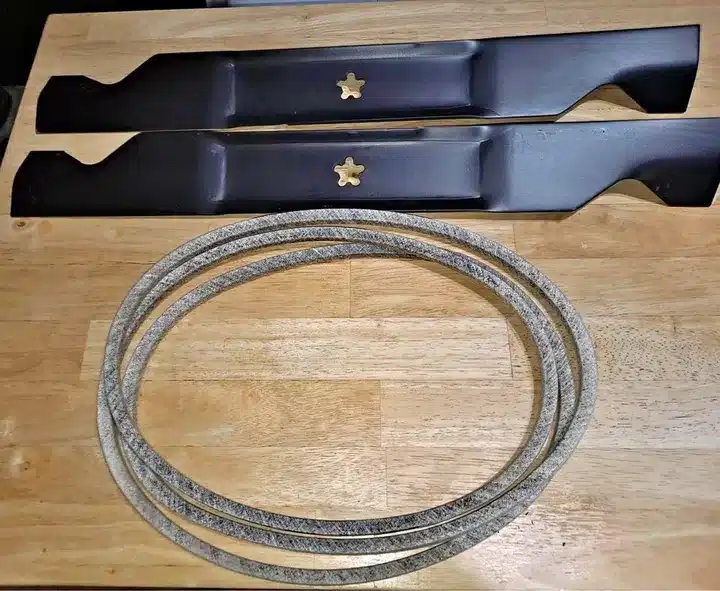
The drive belt is responsible for transferring power from the engine to the mower deck of a lawn mower, allowing it to rotate and cut the grass efficiently. V-belts and Poly V belts are the most common drive belts used in lawn mowers.
Read More: Bad Boy Mower Belt Problems
Idler Pulley
It is usually situated close to the drive belt and is connected to a bracket or arm. The idler pulley can be recognized by its circular shape and even surface.
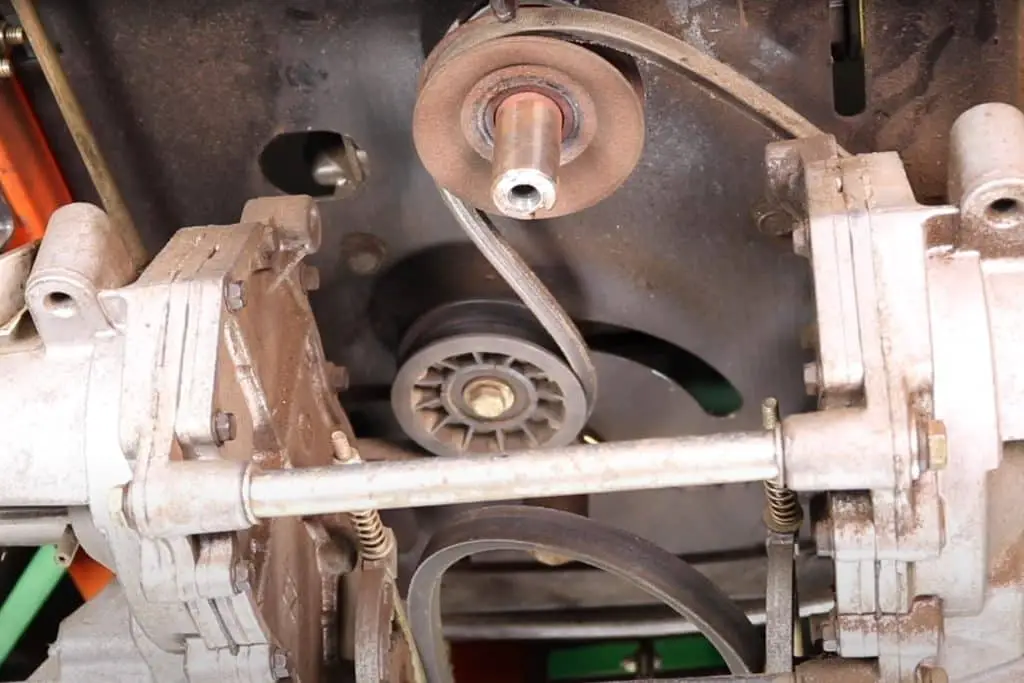
Clutch Pulley
The clutch pulley is the final component in the drive belt system, connecting the drive belt to the engine. It engages and disengages the drive belt, allowing the mower blades to start and stop spinning.
Removing the Drive Belt Shield
The drive belt and its components can be accessed by following these steps:
- Remove the drive belt shield, usually located on the mower’s side, close to the engine. Loosen and remove the bolts securing the shield using a wrench or similar tool.
- Gently lift the shield away from the mower, taking care not to force or bend it.
- Inspect the surrounding area for any other components that may be attached to the shield or obstructing its removal.
If necessary, disconnect or remove any additional parts to ensure safe and smooth removal of the shield.
Releasing Tension and Detaching the Old Drive Belt
With the drive belt shield out of the way, the next step is to alleviate the idler pulley’s tension and detach the old drive belt.
Release Tension
Releasing tension on the idler pulley can be achieved by following these steps:
- Use a socket wrench or breaker bar to turn the bolt counterclockwise.
- This reduces the tension, allowing you to remove the old drive belt securely.
- Be sure to adhere to the specific instructions for your mower model to avoid any complications during this step.
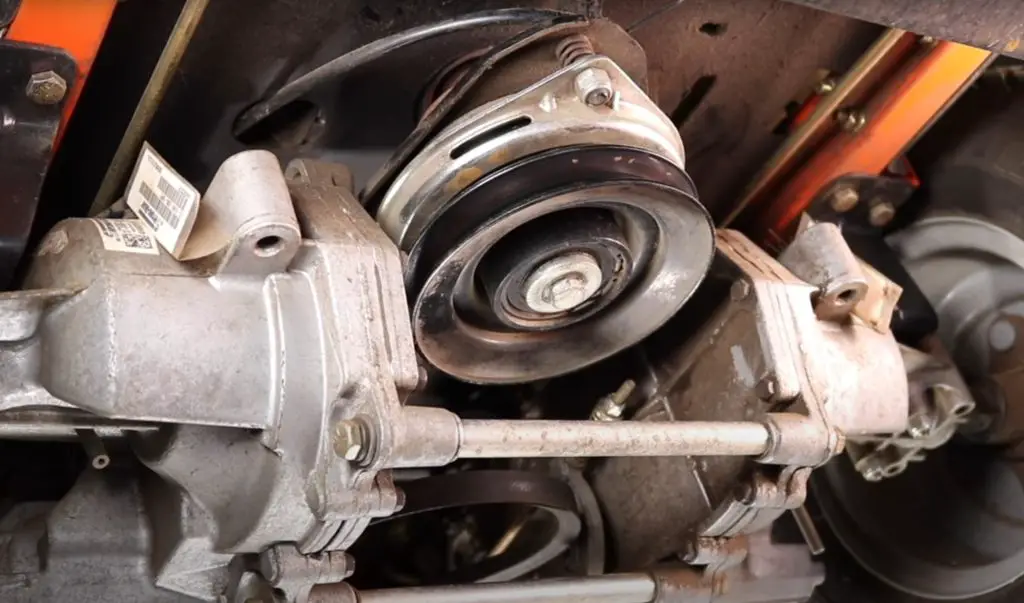
Remove Drive Belt
With the tension released, it’s time to remove the old drive belt. To ensure a safe and damage-free removal, follow these steps:
- Wrap as much of the belt as possible around one of the pulleys, making sure it completely wraps around the pulley’s outer cover.
- Gently slide the belt off the pulleys, taking care not to force it.
- Set the old belt aside.
Installing the New Drive Belt
With the old drive belt removed, the next phase is the installation of the new one. This involves wrapping the new belt around the clutch pulley and adjusting the idler pulley to maintain tension and alignment.
Wrap Around Clutch Pulley
Begin by wrapping the new belt around the clutch pulley, ensuring proper alignment. The belt should be wrapped with approximately 100 degrees of wrap and without any twisting or misalignment.
Proper alignment is essential for smooth engagement, avoiding harsh grabbing, and maintaining the belt system’s correct tensioning.
Adjust Idler Pulley
With the new belt wrapped around the clutch pulley, it’s time to adjust the idler pulley to maintain tension and alignment of the new belt. Manually rotate the idler pulley to ensure it operates smoothly without any bearing play.
If no issues are detected, then the idler pulley is considered properly adjusted.
Verifying Proper Belt Installation
After installing the new drive belt, it’s important to confirm its proper installation. Follow these steps to ensure the belt is installed correctly:
- Check the tension by ensuring the belt cannot be twisted more than a quarter turn by hand.
- Confirm the alignment by inspecting the belt’s position on the pulleys.
- Double-check that there are no knots or tight twists in the belt.
- Finally, ensure the ending routes are consistent with the initial configuration.
Reassembling the Mower
After confirming the correct belt installation, reverse the steps taken during the disassembly process, ensuring the new drive belt is correctly routed and all components removed are securely reattached.
Be cautious when reattaching the drive belt shield, ensuring all bolts are tightened securely.
Maintenance Tips for Prolonged Belt Life
To extend the life of your mower’s drive belt, regular maintenance is necessary. Inspect the tension and alignment of the belt periodically, approximately every three to six months.
Additionally, conduct more frequent inspections if you detect any noise or vibration.
Troubleshooting Common Drive Belt Issues
Even with regular maintenance, drive belt issues may occasionally surface. Recognizing signs of wear, such as cracks, burned sidewalls, or uneven edges, is essential for addressing these issues promptly.
Upon noticing any of these signs, immediate replacement of the drive belt is advised to preclude further damage or complications.
In some cases, drive belt issues may be caused by factors other than wear, such as high tension, improper installation, or a faulty component.
Identifying and addressing the problem’s root cause will ensure a smoother and more efficient mowing experience. Consider your mower’s manual or seek professional assistance if you’re unsure about troubleshooting or resolving drive belt issues.
Related Articles:
- Husqvarna MZ61 Problems: Troubleshooting Tips & Fix Issues
- Husqvarna Zero Turn Won’t Start: Troubleshooting
- Husqvarna Zero Turn Mower Problems
Summary
Replacing the drive belt on your preferred mower is a critical maintenance task that ensures optimal performance and prolongs the life of your machine.
By following this step-by-step guide, you’ll be well-equipped to tackle this task with confidence and precision.
Remember to prioritize safety, perform regular maintenance, and troubleshoot any issues promptly to keep your mower running smoothly and efficiently.
Frequently Asked Questions
Do zero turn mowers have a drive belt?
Yes, zero turn mowers have a drive belt that transfers power from the engine to the transaxles, powering the drive wheels.
What causes a drive belt to break on a zero turn mower?
Pulley wear and tear is a common cause of drive belt breaks on zero turn mowers, as it creates friction between the pulley and the belt.
How often should you change belt on zero turn mower?
Mower belts need to be replaced depending on operating conditions and frequency of use. It is important to regularly check the belt for signs of wear and tear in order to ensure optimal performance.
What is the purpose of the idler pulley in a mower’s drive belt system?
The idler pulley in a mower’s drive belt system serves to maintain tension and alignment of the belt, allowing for smooth operation.
How can I ensure proper alignment when installing a drive belt on a clutch pulley?
To ensure proper alignment when installing a drive belt on a clutch pulley, check that the edges of both parts are parallel and adjust their positions accordingly.