I’m here to provide you with a concise, authoritative walkthrough. This article cuts straight to the chase, equipping you with essential information and practical tips to ensure that your blade change is as smooth and safe as the lawns you mow.
Trust in my specialized knowledge to enhance your mower’s performance and keep reading to master the blade-changing process.
Key Takeaways
- Changing blades on bad boy mower involves lifting the mower deck, removing old blades with a socket wrench while wearing gloves, installing new blades ensuring they are clean, aligned, and properly secured, and checking orientation for correct cutting.
- Essential tools for replacing blades on a Bad Boy mower include a socket wrench, torque wrench, safety goggles, gloves, and a lifting device such as a jack or mower lift, with an emphasis on using the correct replacement blades to prevent damage and ensure optimal performance.
- Safety is paramount when changing blades: turn off the engine, disconnect the spark plug, wear protective gear, and secure the mower with proper supports to prevent injury and damage to the mower.
- Regular blade maintenance, including checking, sharpening, or replacing when necessary, prolongs the life of mower blades and enhances lawn quality, with a selection of blade types available tailored to specific lawn needs and mowing conditions.
Essential Tools and Equipment for Blade Replacement
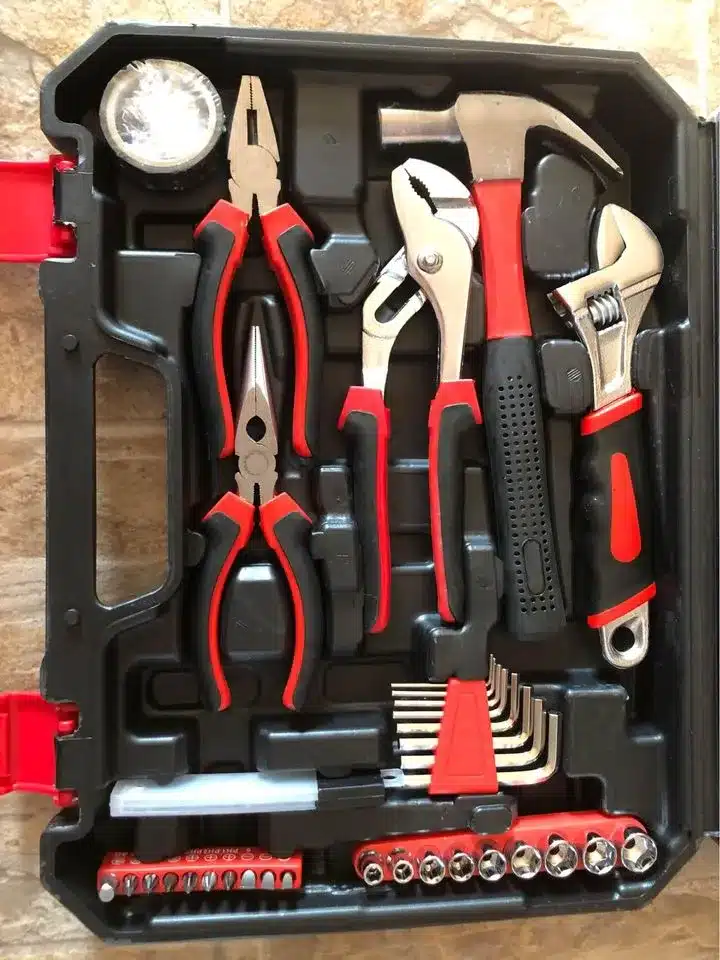
Having the right tools at hand will streamline the process and ensure safety throughout the procedure. Some of the essential items you’ll need include:
- A socket wrench
- A torque wrench
- Safety goggles
- Gloves
- A suitable lifting device, such as a jack or mower lift
Additionally, ensure you have the correct replacement blades for your specific Bad Boy mower model, as using incompatible blades can lead to suboptimal cutting performance and potential damage.
When it comes to choosing replacement blades, genuine Bad Boy 54” Deck Blades for a 54” deck mower are a reliable choice.
This guarantees you’re getting a product designed specifically for your mower, avoiding any potential issues with spam fraud and abuse. With the right tools and equipment, you’ll be well-prepared to replace your mower blades efficiently and safely.
Learn More: How To Change Blades On Husqvarna Zero Turn Mower
Precautions Before Starting the Blade Change Process
Prioritize safety whenever you are handling machinery. Here are the steps to follow when changing the blade on your mower:
- Wear protective gear: safety goggles, gloves, and ear protection.
- Turn off the engine and remove the key.
- Disconnect the spark plug to prevent accidental starts.
- Use proper supports to secure the mower when working underneath.
- Handle blades with care to avoid cuts.
- Follow these safety measures to prevent injuries during maintenance.
By taking these precautions, you’ll minimize the risks of injury and damage to your mower.
Step-by-Step Guide to Changing Blades On Bad Boy Mower
We’ll walk you through lifting the mower deck, removing the old blades, and installing the new ones, ensuring a smooth and efficient process.
Related Articles:
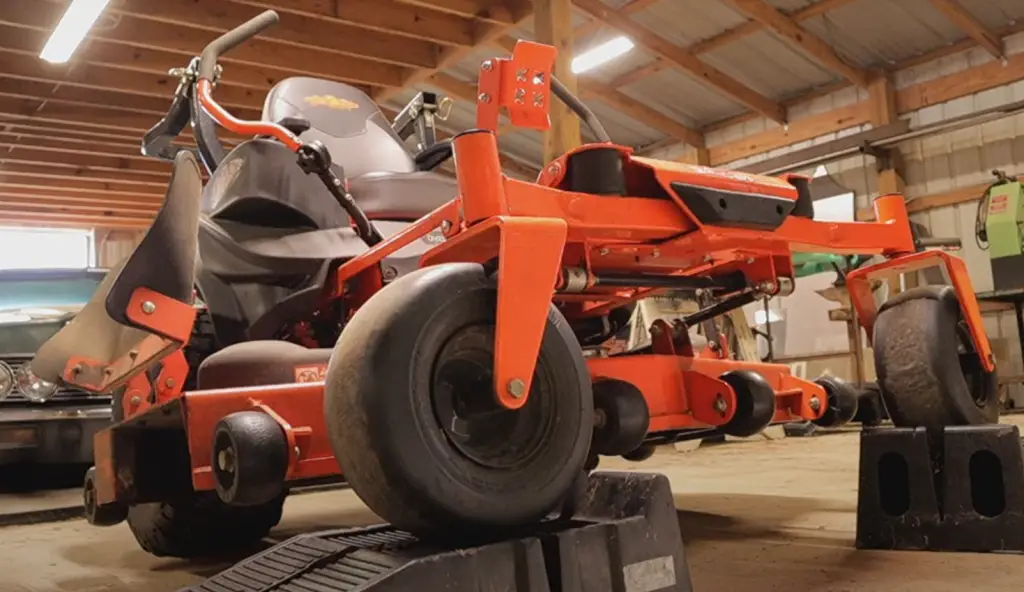
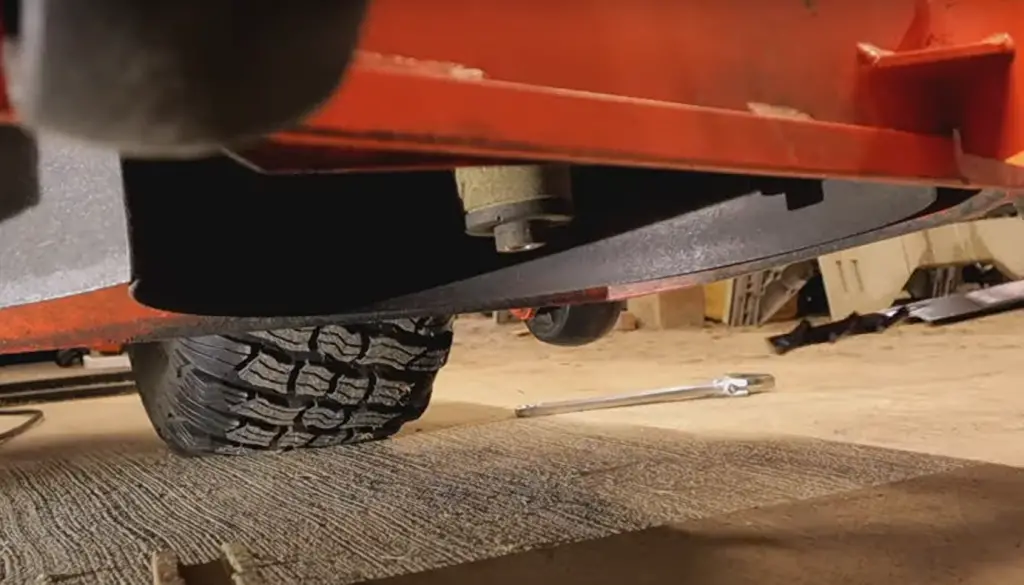
Lifting the Mower Deck
Start the blade changing process by lifting the mower deck to gain access to the blades. To do this safely, ensure the blades are disengaged and use a jack or other appropriate lifting device.
A mower lift specifically designed for Bad Boy mowers is the most secure method and guarantees stability throughout the process.
Before lifting the deck, check the carburetor and oil compartment to avoid spilling oil. Tilt the mower back towards the handle and prop it with weight or ask for assistance from a partner.
Related: Bad Boy Mower Deck Adjustment
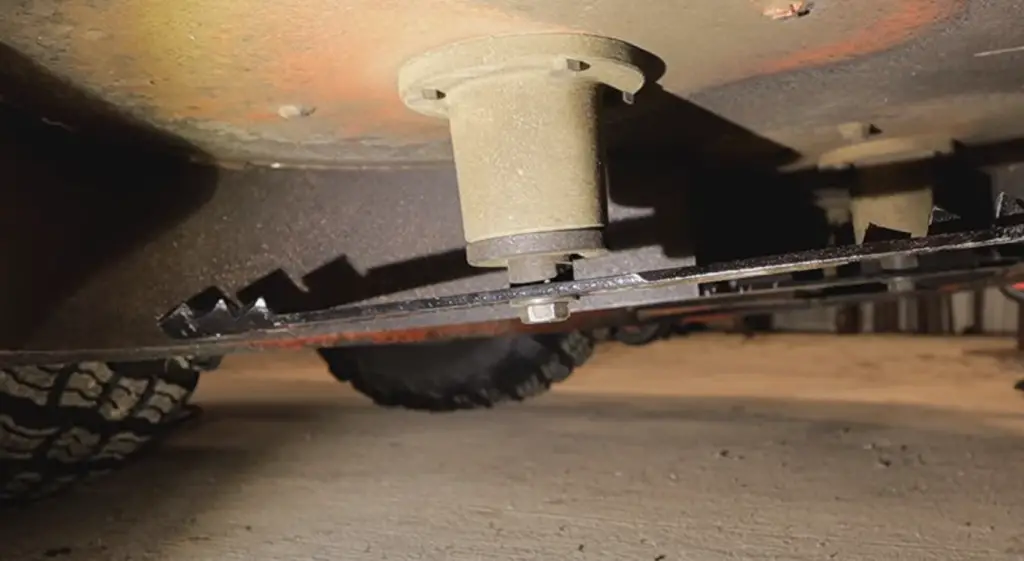
Removing the Old Blades
Once the mower deck is lifted, begin removing the old blades. Use a socket wrench (typically 15/16” or 18mm) to loosen the blade bolts. Be sure to wear gloves to protect your hands from the sharp edges of the blades.
As you remove the old blades, pay attention to their positioning and any washers or mounting hardware that secure the blades in place. Keeping track of these items will make reinstalling the new blades a smoother process.
Installing the New Blades
After removing the old blades, the next step is to install the new ones. Here’s how:
- Clean the Underside of the Deck: After removing the old blades, take the opportunity to clean any debris and grass buildup from the underside of the deck. This helps maintain airflow and cutting efficiency.
- Align the New Blade: Position the new blade onto the mower deck, aligning it with the blade bolt holes.
- Secure the Blade: Using a wrench, tighten the blade bolt to secure the new blade in place. Ensure it’s snug but do not overtighten.
- Check Blade Orientation: Confirm that the sharp edge of the blade is facing outward, ready to cut, and that it’s mounted in the same orientation as the old blade was.
- Double-Check Your Work: Before lowering the deck, double-check that everything is secure and properly aligned to prevent any issues during mowing.
Tips for Prolonging Bad Boy Mower Blade Life
Maintaining your Bad Boy mower blades is essential for peak performance and a healthy lawn. Regularly check and sharpen your blades to ensure clean cuts, and balance them to avoid mower vibration.
Sharpen at least twice per season or after every 25 hours of use. If blades are damaged or excessively worn, replace them to keep your mower running smoothly and your lawn looking its best.
Remember, the condition of your blades directly affects the quality of your cut.
Be mindful of the stuff and elements that can have a detrimental effect on your mower blades, such as rocks, sticks, or other debris.
Avoid mowing over these obstacles to prevent damage to your blades and keep them in prime condition for a bit longer, without creating unnecessary wear and tear.
To ensure optimal performance and a fun experience, it’s important to deliver and maintain
Troubleshooting Replacement Issues
During blade replacement, certain issues might crop up. Addressing these issues promptly will ensure a more efficient and enjoyable mowing experience.
For instance, if you notice your blades are not properly fitted during replacement, double-check the blade orientation and tighten the blade bolts as needed.
Another potential issue is the mower not cutting evenly after the blade replacement. In this case, you can try the following steps:
- Inspect the newly installed blades for proper orientation and ensure they are securely attached.
- Test the mower on a small patch of grass to see if the cutting is even.
- If the problem persists, consider seeking professional assistance.
Last summer, I encountered a common issue many homeowners face: uneven cuts on my lawn after changing the blades on my Bad Boy mower. Initially, I was puzzled; I had followed the standard blade replacement procedure.
After some investigation, I realized the importance of blade balancing—a step I had overlooked. The new blades were causing vibrations, leading to an uneven cut.
I learned that even new blades can be out of balance, so now, I always check the balance before installation. This simple step made a significant difference, and my lawn has never looked better.
Sharing this experience reminds me that maintenance is not just about replacing parts; it’s about understanding the nuances that lead to a well-groomed lawn.
Blade Maintenance: Sharpening vs. Replacing
To sharpen your blades, you can use a mill bastard file, a bench grinder, or even a hammer with the necessary safety equipment, such as gloves and safety glasses.
Following the proper sharpening procedure will ensure optimal cutting performance and prolong the life of your blades.
However, if your blades are damaged, bent, or have significant nicks, it’s best to replace them entirely.
Regularly inspect your blades for any signs of wear and make the appropriate decision between sharpening and replacing, based on their condition and cost.
Choosing Replacement Blades
Understanding the types of blades available for your Bad Boy mower is key to achieving the perfect cut and maintaining the health of your lawn. Here’s a breakdown of the most common blade types and their specific uses:
- Standard Blades (2-in-1): These are the go-to blades for most mowing jobs. They’re designed to cut the grass and either discharge or collect the clippings. Ideal for those who prefer to bag their clippings or for lawns that are mowed regularly, standard blades provide a clean, even cut.
- Mulching Blades (3-in-1): Mulching blades, also known as all-purpose blades, are designed with a more curved surface and extra cutting edges. This design allows the blades to cut the grass into fine pieces that fall back onto the soil, acting as a natural fertilizer. They’re perfect for eco-conscious homeowners who want to nourish their lawn naturally.
- High-Lift Blades: These blades are designed to create a strong upward air flow to circulate and expel the grass clippings from the mower. High-lift blades are ideal for lawns that have tall, dense grass and require bagging of clippings.
- Low-Lift Blades: Best suited for lawns with sandy soil, low-lift blades create less airflow, which means less kicking up of sand and debris. They’re great for maintaining lawns that don’t have a lot of moisture and where the grass is not typically tall.
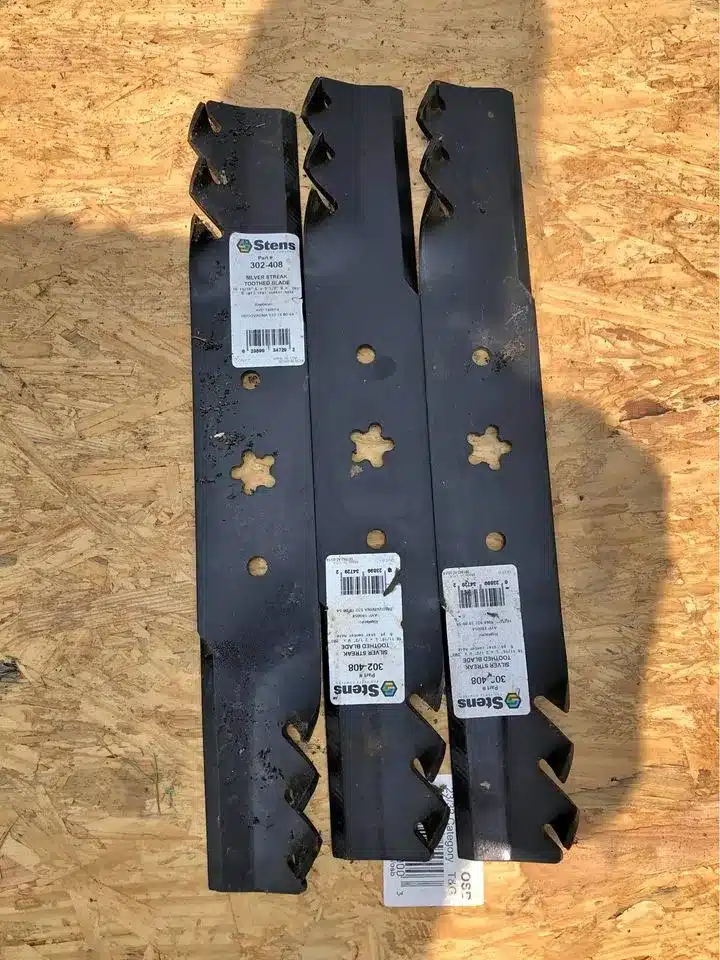
- Gator Blades: These are a type of mulching blade with angled teeth at the back end of the blade. These teeth help to further chop up the grass clippings, making them even finer than what regular mulching blades would produce.
- Notched Blades: Featuring additional notches along the cutting edge, these blades are designed for more heavy-duty mowing tasks. They can handle thicker grass and tougher conditions without losing cutting efficiency.
Summary
Changing the blades on your favorite Bad Boy mower is an essential aspect of proper lawn maintenance. By following the step-by-step guide, ensuring the right tools and safety precautions, and choosing suitable replacement blades, you can achieve a healthy, beautiful lawn.
Remember to regularly inspect and maintain your mower blades for optimal performance and a more enjoyable mowing experience.
FAQs ( Changing Blades on Bad Boy Mower Frequently Asked Questions)
What size bolt holds the blades on a Bad Boy mower?
The blades on a Bad Boy mower are held in place with a 5/8″-18 x 1-1/2″ GR 8 Hex Bolt.
Which way do you turn the bolt to loosen a lawn mower blade?
To loosen a lawn mower blade, you need to turn the bolt counterclockwise.
How often should I change the blades on my Bad Boy mower?
It’s recommended to change the blades on your Bad Boy mower every few weeks or as needed, especially during peak mowing season.
What safety gear should I wear when changing mower blades?
It is important to wear safety goggles or glasses, heavy-duty gloves, ear protection, and sturdy work boots while changing mower blades to protect yourself.
How can I tell if my mower blades need to be sharpened or replaced?
Inspect your blades for signs of wear such as nicks or bends; if they are still in good condition, sharpen them, otherwise replace them.